Fly Tying Tutorials
Key Takeaways
- Understanding the materials used in fly tying is crucial for effective creation.
- Following step-by-step tutorials can simplify the learning process.
- Experimenting with different patterns can enhance your fishing experience.
- Regular practice is key to mastering fly tying techniques.
Welcome to our comprehensive guide on fly tying tutorials. Whether you are a beginner or looking to refine your skills, this guide will provide you with step-by-step tutorials on tying different types of flies. We will cover essential materials, methods, and tips for successful fly tying.
Understanding Fly Tying
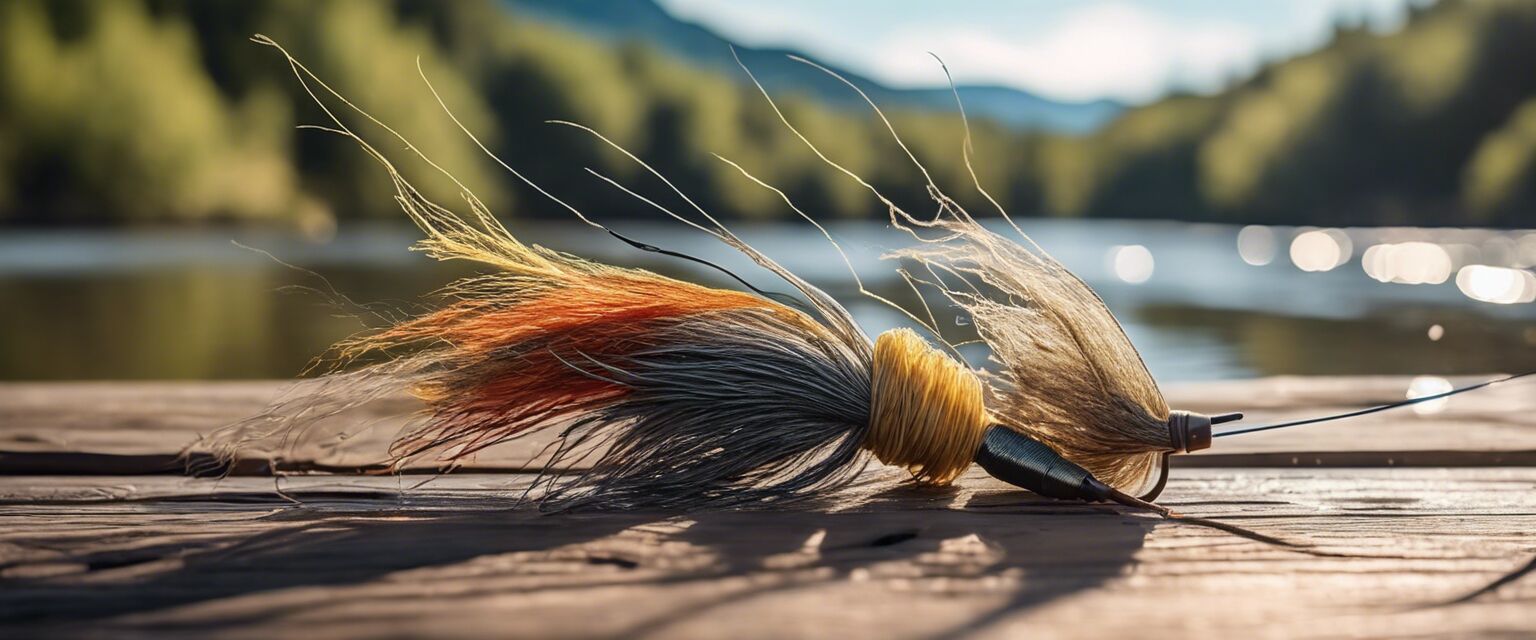
Fly tying is the art of creating artificial flies to be used in fly fishing. These flies imitate aquatic insects, baitfish, or other organisms that fish feed on. The quality of a fly can significantly affect your fishing success, making it essential to learn the right techniques.
Essential Materials for Fly Tying
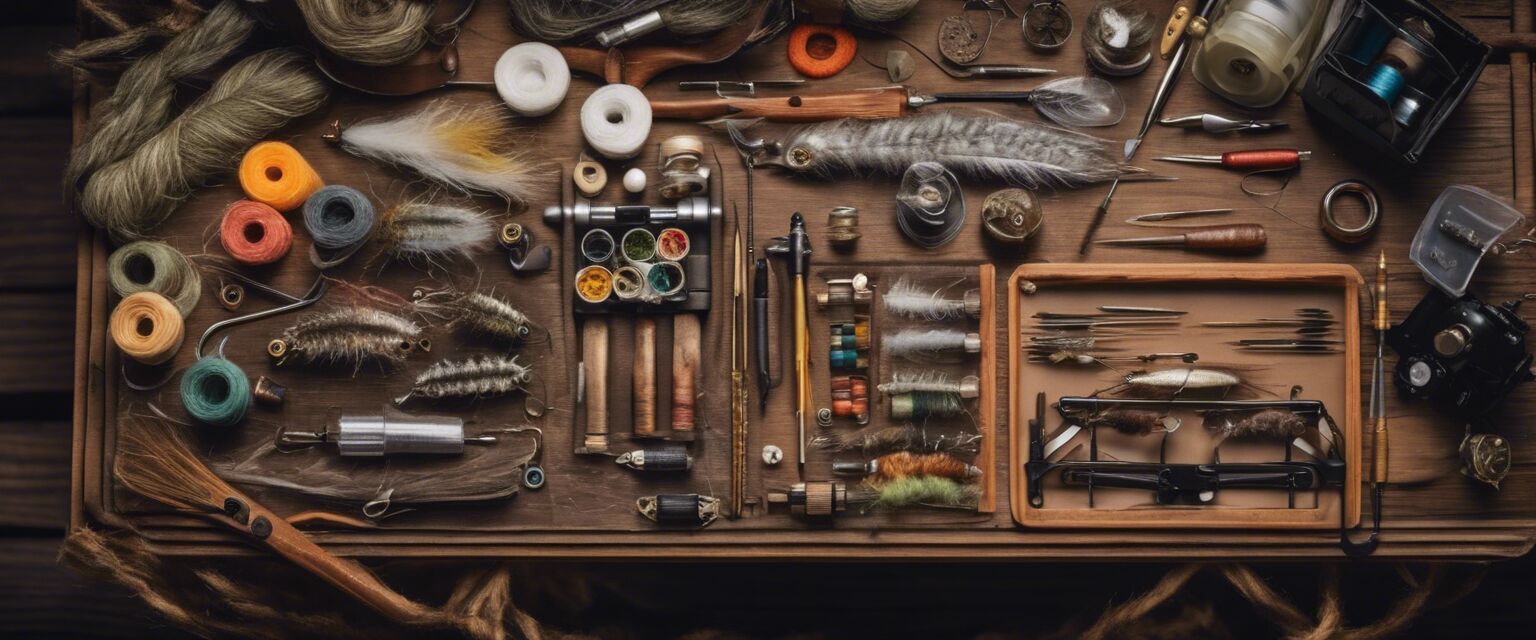
Before diving into tutorials, it's essential to gather the right materials. Hereâs a list of common fly tying materials:
| Material | Description |
|---|---|
| Hook | The foundation of any fly, available in various sizes and styles. |
| Thread | Used to wrap materials onto the hook; comes in various colors and sizes. |
| Body Material | Can be fur, feathers, or synthetic materials that form the body of the fly. |
| Wing Material | Feathers or synthetic materials that create the wing of the fly. |
| Hackle | Feathers used to create movement in the water, adding realism to the fly. |
Basic Fly Tying Techniques
Here are some fundamental techniques that every fly tyer should know:
- Thread Control: Learning to manage thread tension is crucial for securing materials.
- Wrapping: Properly wrapping materials around the hook enhances durability.
- Whip Finish: This technique secures the thread at the end of your fly.
Step-by-Step Fly Tying Tutorials
Letâs look at some popular fly patterns and their tying methods:
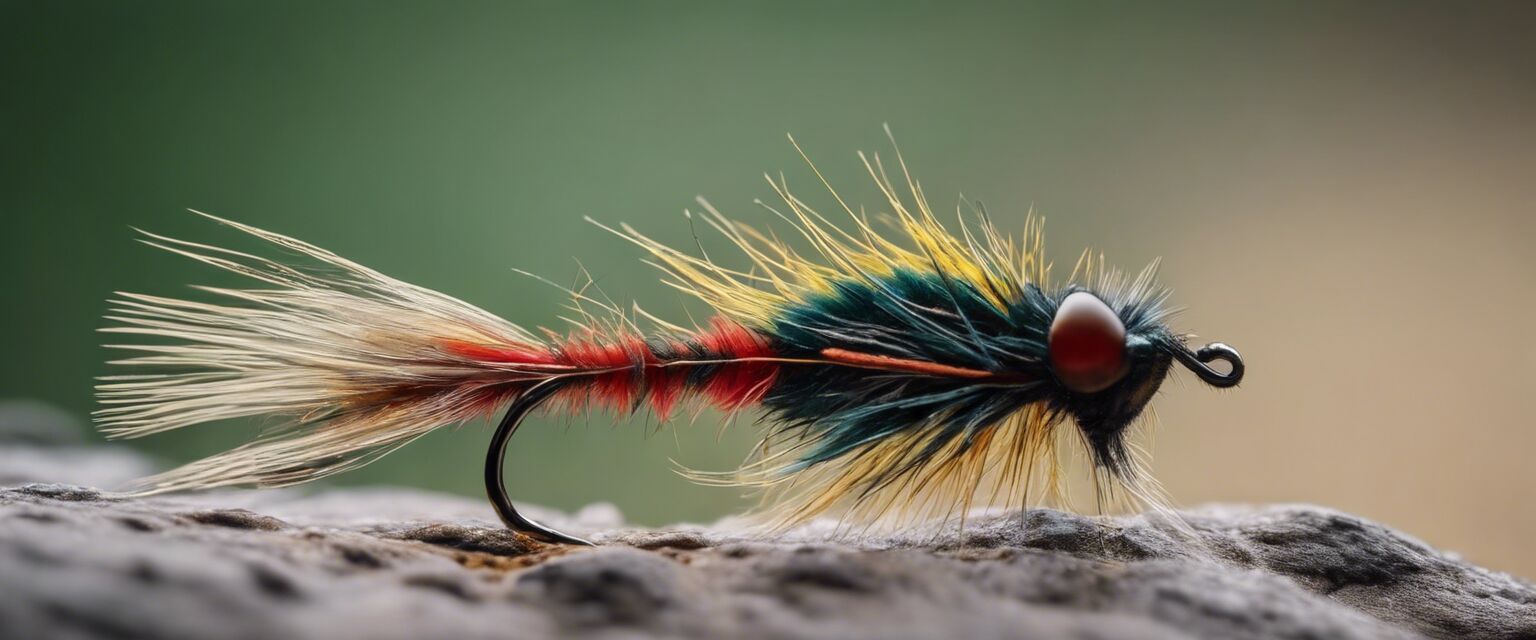
1. Woolly Bugger
The Woolly Bugger is a versatile fly that imitates many aquatic creatures. Hereâs how to tie it:
- Start with a hook secured in the vise.
- Attach the thread and wrap it around the hook shank.
- Add a tail made of marabou feathers.
- Wrap the body with chenille and secure it with thread.
- Add hackle feathers for the collar and finish with a whip finish.
2. Adams Dry Fly
The Adams Dry Fly is a classic pattern effective for a variety of fish. Hereâs the tying process:
- Secure the hook in the vise and attach the thread.
- Attach a tail made from hackle fibers.
- Build the body with a light dubbing material.
- Add a wing using a mix of deer hair and hackle.
- Finish with a whip finish to secure the fly.
3. Clouser Minnow
The Clouser Minnow is a popular stream pattern that mimics baitfish. Hereâs how to tie it:
- Begin with a hook in the vise and attach the thread.
- Add a lead eye to the hook shank for weight.
- Wrap the body with bucktail or synthetic fibers.
- Add a contrasting color on top to complete the look.
- Secure it all with a whip finish.
Tips for Successful Fly Tying
Beginnerâs Section
- Start with simple patterns before progressing to more complex flies.
- Invest in quality tools for better results.
- Practice regularly to improve your skills.
- Join a local fly tying group for support and tips.
Frequently Asked Questions
What tools do I need to start fly tying?
You will need a vise, scissors, thread, bobbin, and various materials like feathers and fur.
How long does it take to learn fly tying?
With regular practice, you can learn basic techniques in a few weeks, but mastery may take longer.
Can I tie my own flies economically?
Yes, tying your own flies can be more cost-effective in the long run compared to purchasing them.
Pros
- Cost savings by tying your own flies.
- Ability to customize patterns based on local fish species.
- Enhances the fishing experience by using personal creations.
Cons
- Initial investment in materials and tools.
- Time-consuming process for beginners.
- Steep learning curve for more complex patterns.
Conclusion
Fly tying is a rewarding skill that enhances your fly fishing experience. With the right materials, techniques, and practice, you can create effective flies tailored to your fishing needs. Explore more about fly tying kits to get started with your fly tying journey.
For further reading, check out our guides on casting tools and fishing lines to complement your fly fishing setup.
